
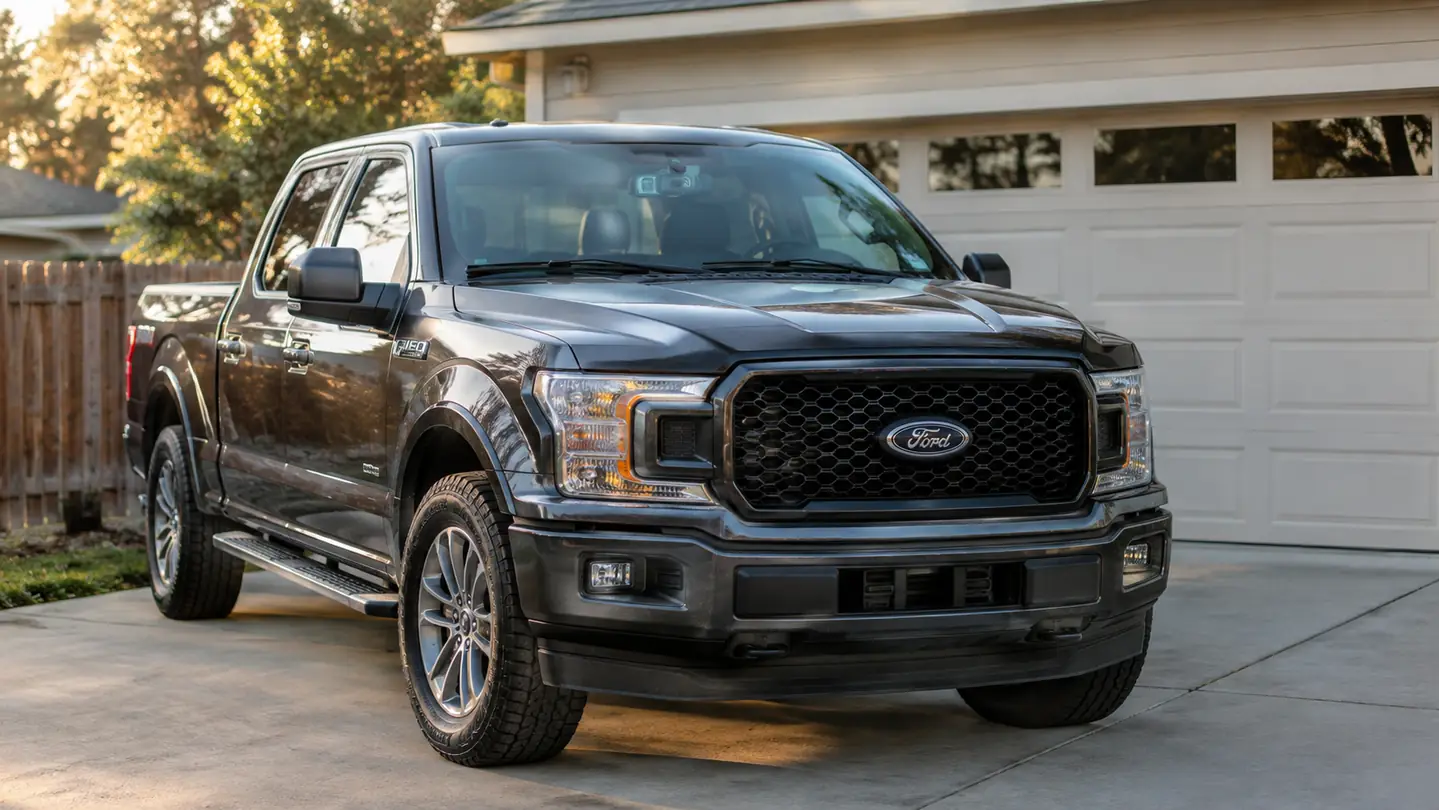
I have been doing my own brakes, oil changes, and small repairs in my driveway for about 30 years, so I am used to jobs that look harder than they are. Installing a dash cam is one of them. The REDTIGER F7NP front and rear camera kit sat in a box on my workbench for two weeks before I got around to it, mostly because I figured the rear camera would mean pulling half the interior trim. It did not. If you can run a cable along a headliner and plug a connector into a cigarette lighter, you can install this kit in an afternoon. My 2012 F-150 has 187,000 miles on it and I plan to keep it another hundred thousand, so after a close call on I-75 last spring I decided it was time to stop putting it off.
This walkthrough is for the REDTIGER F7NP, the 4K front and rear kit that comes with a memory card in the box. I installed it in my 2012 Ford F-150 pickup, the truck I have driven for years and worked on in the same concrete driveway. The steps are the same for most cars and small trucks, and I will point out where you might need to adjust. If you have a sedan or a crossover, the only real difference is the rear cable run, and I will call that out when we get there. I am not a professional installer, and I did not use any special tools beyond a plastic trim tool and a clean rag.
The kit that made me stop putting off a dash cam
The REDTIGER F7NP comes with the front camera, rear camera, a long cable, and a memory card, so there is nothing else to buy before you start. Check today's price on Amazon and see if it fits your truck.
Amazon Check Today's Price on Amazon →Step 1: Pick the mounting spot and test the cables before you route anything
Do not route a single cable until you have held the front camera up to the windshield and confirmed you can see the road without the camera blocking your view. I mounted mine behind the rearview mirror on the passenger side. That spot keeps the camera out of my line of sight and hides most of the unit from outside. The REDTIGER F7NP has a screen on the back, which helps you aim it, but you can also use the phone app to check the angle. I wiped the windshield glass with rubbing alcohol and let it dry before I pressed the suction mount into place, because on a Georgia summer day a greasy spot under the mount is the difference between it holding and dropping. The camera lens should sit just below the wiper sweep so rain does not blur the picture.
Before you tuck anything, plug the power cable into the camera and into the cigarette lighter, then plug the rear camera cable into the front unit. The F7NP should power on and show you the rear view. If the rear camera does not come on, reseat the connector. It is easier to fix a loose connection on your driveway with the box open than it is after you have hidden the cable behind trim. I learned the first time I tested it that the lighter socket in my truck only gets power with the key turned to the accessory position, so I had to turn the key before the camera would wake up. That is not a problem with the camera, just a quirk of the truck.
One thing I learned the first time: the rear camera cable has a specific end that plugs into the front camera. The connectors look similar, so I spent a few minutes trying to force the wrong end. Read the little labels on the cable before you start, and you will save yourself the same frustration. The labels are printed on the connector housings, but they are small, so have a flashlight ready. There is also a separate pigtail on the front unit for the rear camera, and it is easy to mistake it for the power input if you are not paying attention. A slow check now beats a head-scratcher later.
Step 2: Route the power cable along the headliner and down the A-pillar
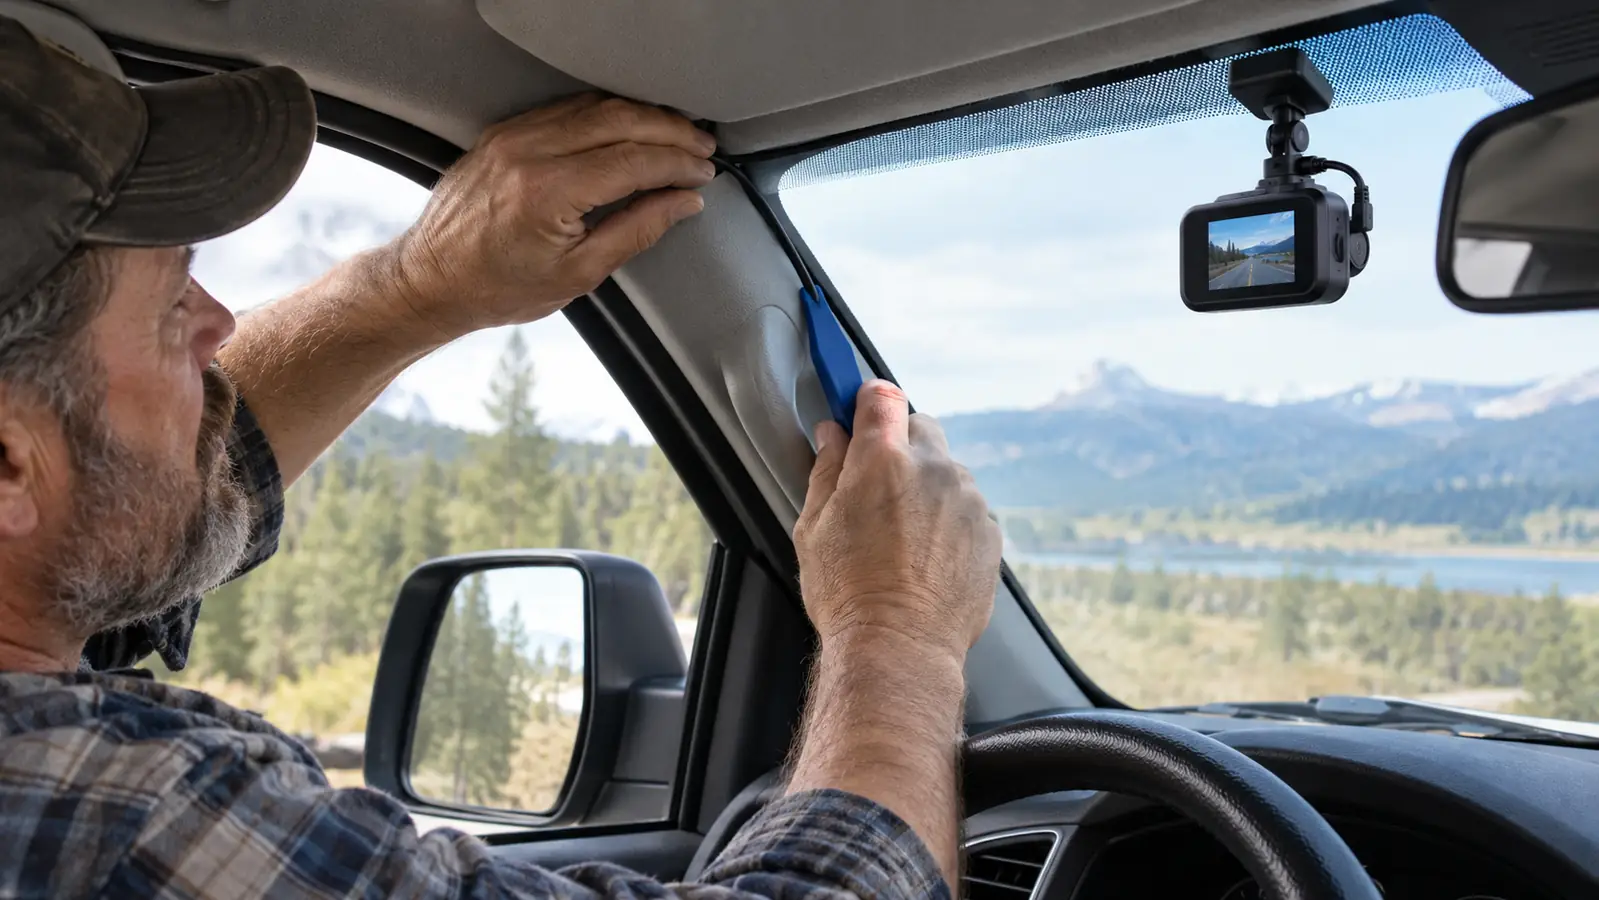
The power cable for the REDTIGER F7NP is long enough to reach the cigarette lighter in my F-150 with slack to spare. Start at the camera and tuck the cable up under the headliner with your fingers or a plastic trim tool. The headliner edge is soft enough that the cable pushes in without any tools, but a trim tool helps you get it seated deep enough that it does not pop out on a hot day. I ran mine toward the passenger side and down behind the glove box, which kept it out of the footwell and hidden from view. There was still a foot of extra cable, which I dealt with later.
Work your way toward the A-pillar, then decide whether you want to go over the pillar or around it. On my truck, I ran the cable along the front edge of the A-pillar trim and down to the dashboard. You can also tuck it under the A-pillar cover, but that cover is held in place by clips and sometimes a bolt, and you risk breaking a clip if you are not careful. The simpler route looks clean and does not interfere with the side curtain airbag. My F-150 has a curtain airbag that runs up the A-pillar, so I did not want the cable in front of it. I worked the cable into the gap along the outside edge of the trim with the plastic tool, and it stayed put through the install and several hot days.
From the A-pillar, run the cable along the edge of the dashboard and down to the cigarette lighter. Use the little adhesive clips that come with the kit to hold the cable in place where it would otherwise hang loose. I used three clips on the dash and one near the lighter, and the cable has stayed put through a Georgia summer. Clean the spot with alcohol before you stick each clip, or it will peel off on a 95-degree day. I also made sure the cable did not cross the gear shifter or hang down where my foot could catch it.
Step 3: Mount the rear camera and run the cable to the back
The rear camera in the REDTIGER F7NP kit mounts to the rear windshield with adhesive tape. Clean the glass with rubbing alcohol, let it dry, and press the mount into place. I mounted mine in the upper center of the rear window of my truck, just below the wiper sweep area, so the view is clear and the cable has a short run to the headliner. If your truck has a rear wiper, leave room below the wiper arc so the lens does not get covered with rain and grime. I angled the camera down just a little so the picture showed the car behind me instead of a close-up of my tailgate. The adhesive is strong, but it needs a day to set, so I did not pull on it right away.
Run the rear cable along the headliner, over the door opening, and down the C-pillar. On a pickup, the easiest path is through the cab, tucking the cable into the headliner seam and then down behind the rear seat trim. On a sedan, you would run it along the headliner and down the trunk side. The cable is long enough for a crew cab, so do not worry about running short. I started at the rear camera, pushed the cable into the headliner seam, and worked forward toward the B-pillar. Getting it around the rear seat took a few minutes because the gap is tight; I used a piece of stiff wire with the end taped over to fish the cable through without pulling the trim loose.
When you reach the front, plug the rear cable into the front camera and confirm the rear view appears on the screen. If it does not, check the connection at the rear camera first. That connector is the one most likely to work loose while you are routing the cable. On mine, the rear image was black the first time because the connector had worked loose. I had to go back to the rear window and push it in until it clicked. If the screen still shows front-only after that, restart the camera by unplugging the power and plugging it back in.
Step 4: Tuck the slack and tidy the cable runs
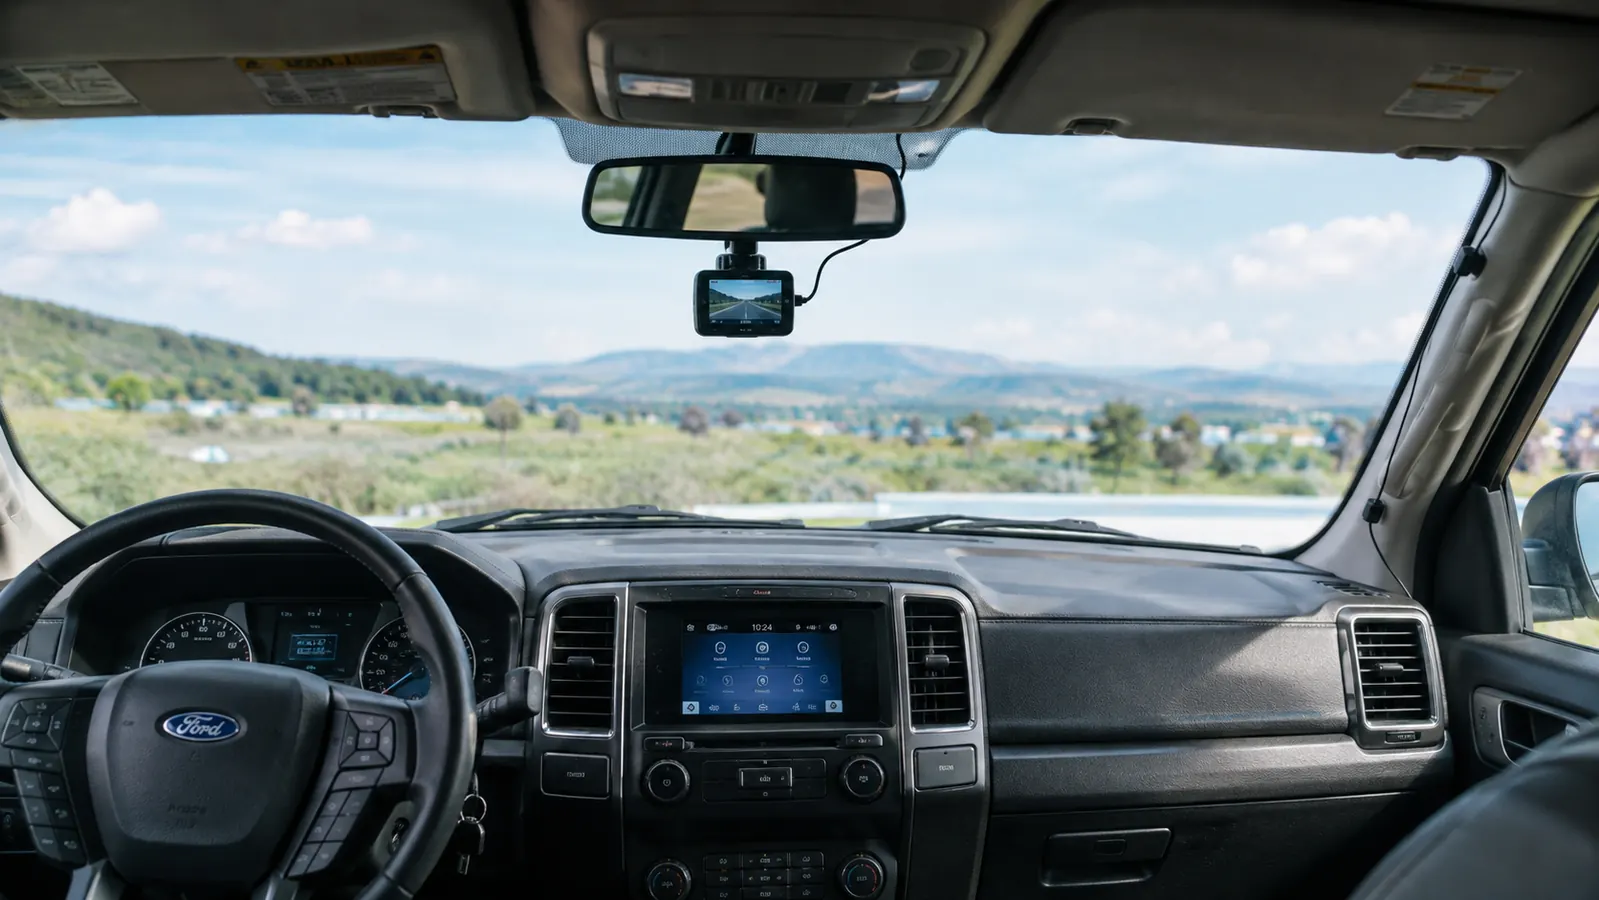
Once both cameras are working, go back and tidy the cable runs. Tuck any slack into the headliner or behind the trim so nothing dangles in front of the driver or passengers. On my truck, I had about a foot of extra power cable, which I coiled behind the dash near the lighter. The rear cable had less slack because the run to the back of a crew cab uses most of it. Before I tucked the final slack, I ran the engine and checked the image for vibration. The mount needed a small turn to tighten, and after that the picture stayed steady on a rough road. I also made sure the power cable was not pinched under the seat track or the hood release.
Use the remaining adhesive clips to secure any spots where the cable could catch a hand or a bag. Pay attention to the area around the door seals. A cable pinched in a door seal will eventually wear through the insulation, so make sure the cable sits inside the seal, not in the pinch point. I used one clip at the top of the passenger door opening to keep the cable off the rubber seal, and it has not moved. Check the clips after a week of driving; heat and cold can loosen them. I replaced one that had popped off.
This is also the time to set the date and time in the camera menu. The REDTIGER F7NP stamps the date and time on the video, and if you skip this step, your footage will have the wrong timestamp. That matters if you ever need to hand footage to an insurance company or a deputy. The menu is straightforward: press the button with the gear icon, scroll to the time and date option, and set it. The camera keeps the time when it is off because it has a small internal battery, but I check it every couple of months because it can drift. Also look at the time zone setting before you assume the clock is correct.
Step 5: Test it on a real drive and check the footage
Take the truck for a drive and test both cameras. I drove a loop through my neighborhood, then pulled over and checked the footage on the camera screen. The front camera should show a clear view of the road and the rear camera should show traffic behind you. If the rear image is dark, check that the rear window is clean and that the camera is not aimed too high or too low. I drove about ten miles on county roads and a four-lane stretch, then reviewed the clips. The front camera handled the morning sun without washing out, and the rear camera caught a car that followed too close at a stop sign. That told me I had the aim right.
Check the audio too. The F7NP records sound by default, which is fine for most people, but you can turn it off in the menu if you do not want the cabin audio recorded. I left mine on, because I would rather have the audio than not have it if something happens. The microphone picks up road noise as well as voices, so if you ever need to prove what was said in the cab, it is there. If you prefer not to record your conversations, the menu setting takes about ten seconds to change.
Finally, confirm the memory card is being written to. The REDTIGER F7NP comes with a card included, and the camera should start recording as soon as it powers on. If the card is full, the camera overwrites the oldest footage, so you do not have to clear it manually. That is the feature that makes a dash cam a set-and-forget tool instead of another thing to maintain. The card is easy to swap, and the camera organizes recordings into folders by date, so finding a clip from a specific day is not a chore. In my first week I saw the red record light blinking at a gas station, and that was all the confirmation I needed.
What Else Helps
A plastic trim tool kit is worth having. It makes tucking cables cleaner and reduces the chance of scratching trim or breaking clips. A roll of double-sided adhesive tape is handy if you want to mount the rear camera somewhere the included tape does not quite reach. And if you park outside in a hot climate, a small pack of spare adhesive clips is cheap insurance, because the clips that come with the kit are enough for a basic install but you may want a few extra for a pickup with a long cab. A small flashlight helps when you are working in the footwell or behind the glove box, and letting the truck cool down before you press the adhesive mounts makes them stick much better. Those two things save you time.
The whole install took me about an hour and a half, and the only tool I really needed was a plastic trim tool.
An afternoon of work, then years of footage
The REDTIGER F7NP is a straightforward kit for anyone who has done their own car work. If you want front and rear coverage without paying a shop to run the cables, check today's price on Amazon.
Amazon Check Today's Price on Amazon →