
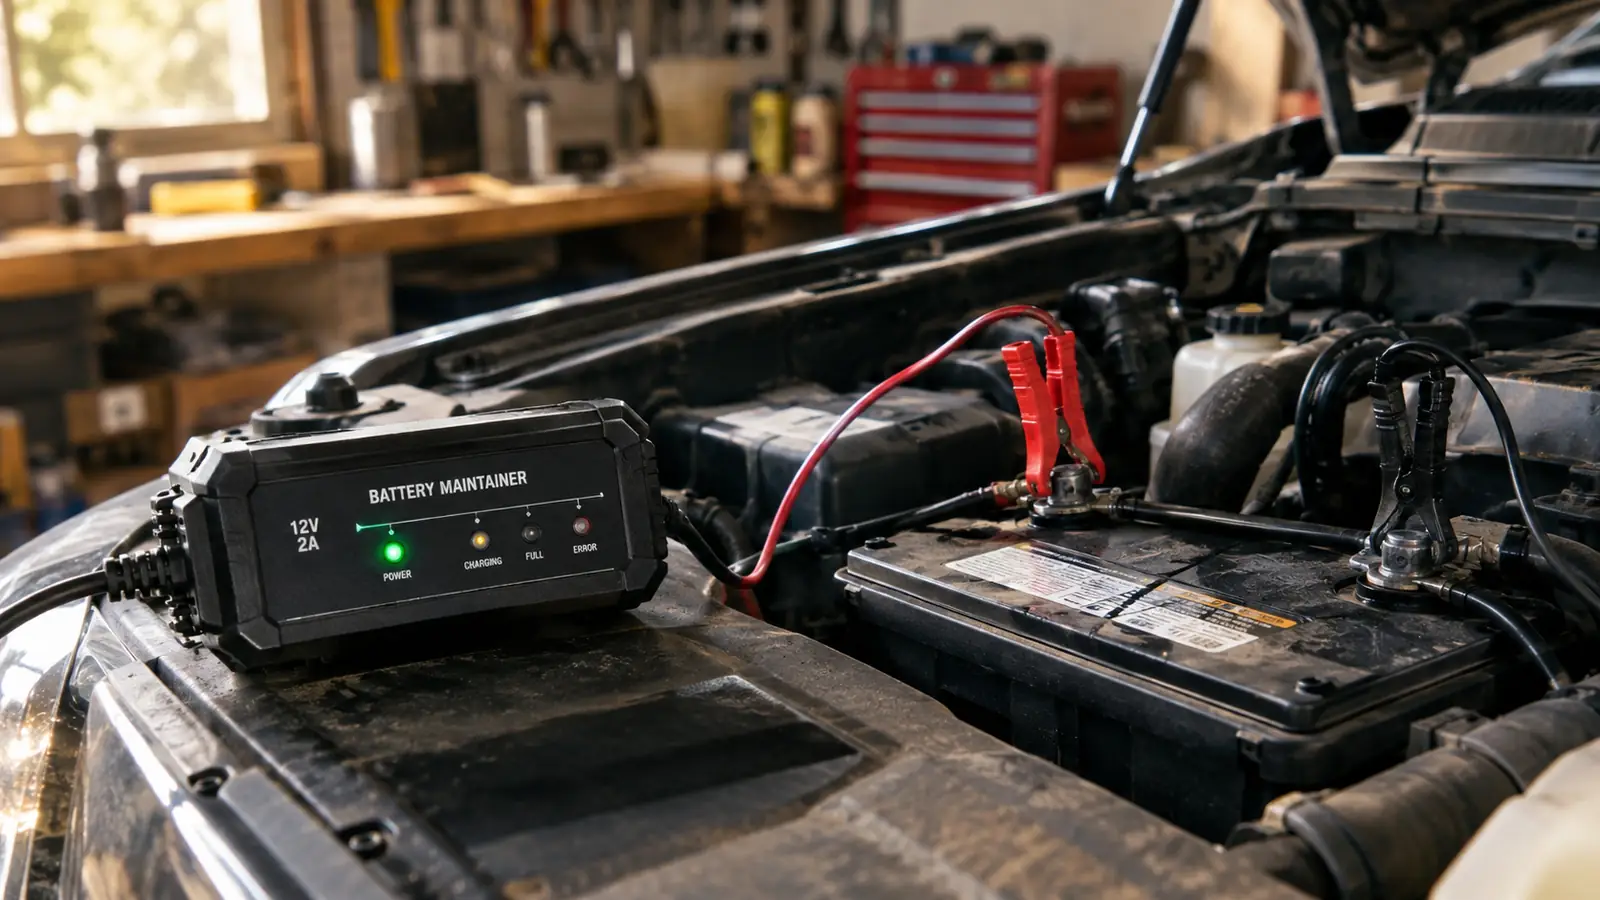
If you have ever walked out to a truck that sat for three weeks and heard nothing but a slow click when you turned the key, you already know the problem. A battery drains on its own even when everything is off. The clock, the radio presets, the computer that watches for key fobs, all of it pulls a little power. Leave it long enough and you are not jumping the battery, you are replacing it. I have been doing my own work in the driveway for about 30 years, and I have killed more batteries by letting them sit than by any starter motor I have ever owned. The fix is not a bigger battery. The fix is a maintainer that keeps the battery full while it sits. This is how I keep a battery charged in storage with the NOCO Genius1.
The NOCO Genius1 is a small smart charger and maintainer that puts out 1 amp. That sounds like nothing until you understand the job. A battery that is just sitting does not need a fast charge. It needs a small, steady top-up that stops when the battery is full and starts again when it drops. That is exactly what the NOCO does. I have used mine for two winters now, and it has turned a recurring headache into a non-event.
Stop losing batteries to the driveway
The NOCO Genius1 keeps a battery topped up while it sits, so the truck is ready when you are. No overcharging, no checking on it every morning.
Amazon Check Today's Price on Amazon →Step 1: Clean the terminals before you connect anything
A maintainer can only work with what it touches. If the battery posts are covered in corrosion or the cable ends are loose, the NOCO Genius1 will read the connection as a problem and it may not charge at all. I clean the terminals with a wire brush until the metal is bright, then I check that the cable ends are snug. You do not need to remove the battery from the truck for this. You just need a clean surface for the clamps.
Here is how I do it. With the truck off and the key out, I pull the terminal covers and look at the posts. White or green crust gets a paste of baking soda and water and an old toothbrush, then a wipe with a damp rag and a dry one. If the posts are dull, a battery terminal brush shines them up in a few twists. I wear safety glasses and gloves for this part, because battery acid in that crust will burn skin and ruin a shirt. The whole job takes about ten minutes, and it makes a real difference to how well any charger can do its work.
I also take a second to look at the battery case. If the case is swollen, cracked, or leaking, do not put a maintainer on it. A damaged battery needs to be replaced, not charged. The NOCO is a smart charger, but it is not a resurrection tool. Start with a battery that is worth keeping.
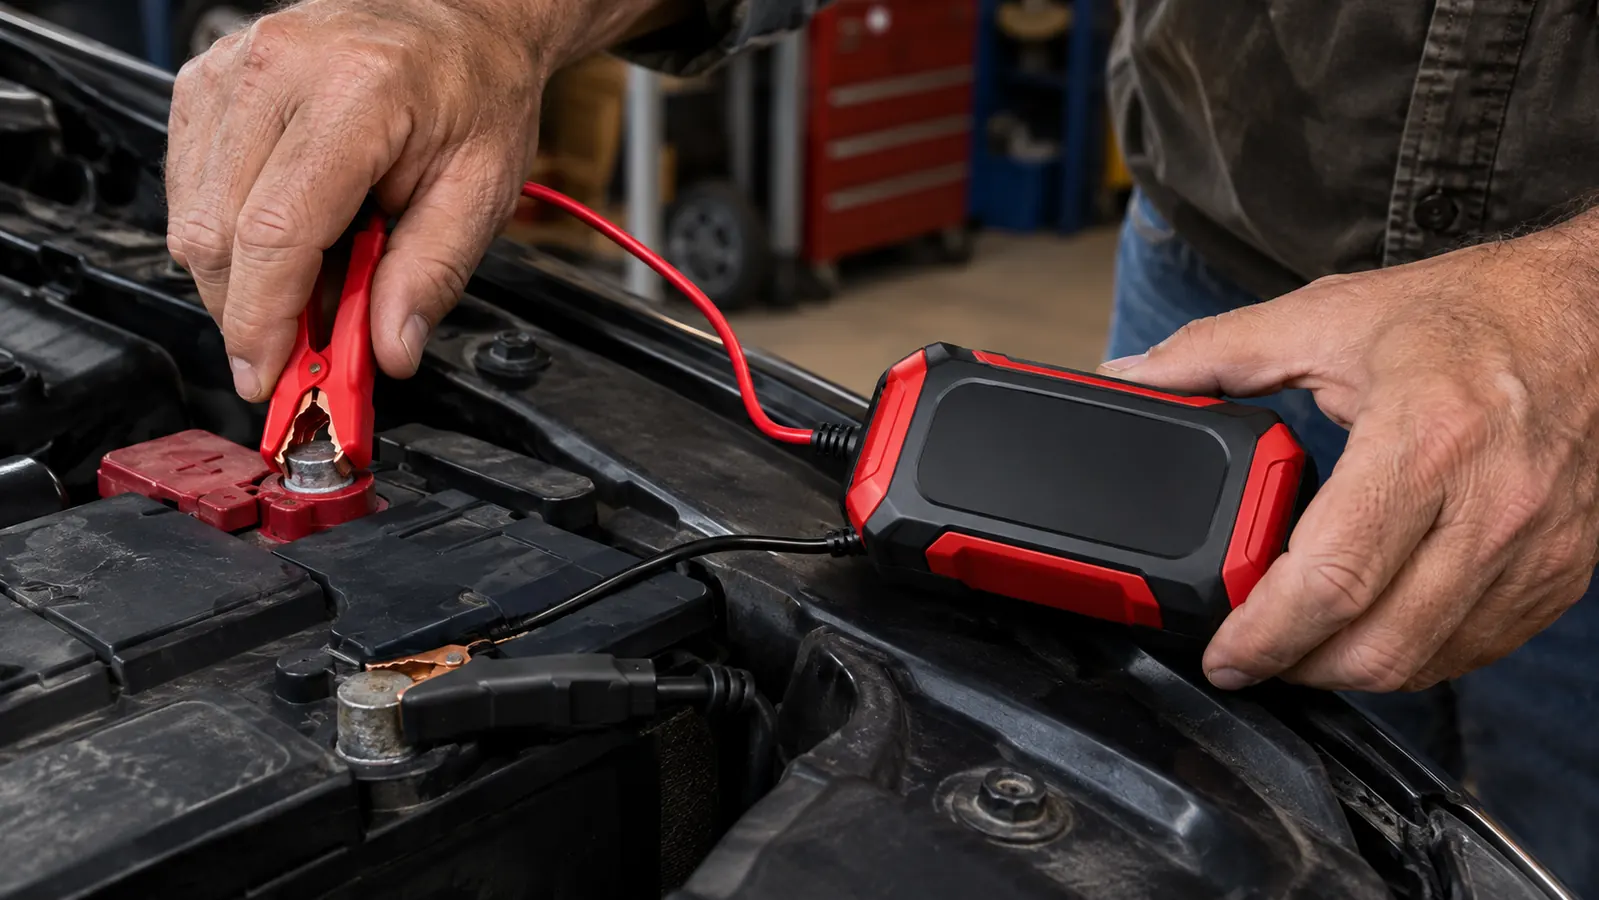
Step 2: Connect the clamps, red first, then black
The NOCO Genius1 comes with clamps that connect directly to the battery. I connect the red clamp to the positive terminal first, then the black clamp to the negative terminal. If you are working on a vehicle where the battery is still installed, that is the order that keeps you from accidentally grounding the positive side with the wrench. I have made that mistake once in my life. Once was enough.
For a vehicle that will sit for a long stretch, I prefer the eyelet terminals that come in the box over the clamps. They bolt onto the battery terminals and stay there, and the other end has a quick connector that hangs out where I can reach it. Once those are installed, hooking up the maintainer takes about five seconds: plug the charger lead into the connector and plug the charger into the wall. It also means nobody can bump a clamp loose walking past the truck. If the battery is hard to reach, the eyelets are worth the extra few minutes to install once.
The clamps have a decent grip and they stay put on the terminals. I give each one a small tug after I attach it to make sure it is not going to vibrate loose. A loose connection makes the NOCO cycle on and off, and it will confuse you when you check on it later. A solid connection means the maintainer can do its job without you babysitting it.
Step 3: Plug the NOCO Genius1 into a grounded outlet
Once the clamps are on, I plug the NOCO into a regular wall outlet. The Genius1 is a 1-amp maintainer, so it does not need a heavy-duty circuit. A standard garage outlet handles it fine. I run the cord so it is not lying across the hood or pinched in the door, and I keep the unit itself away from standing water. Common sense stuff, but it is worth saying out loud.
Pick the outlet with some care. I use a grounded outlet on the garage wall, not an extension cord coiled on the floor, and I keep the charger where it will not sit in a puddle when rain blows under the door. If you must use an extension cord, use a heavy one rated for outdoor use and keep it short. The Genius1 draws very little power, so it does not need much, but a loose or wet connection is the kind of small problem that turns into a big one over weeks of sitting.
When it powers up, the NOCO runs through a quick check. The lights on the front tell you what is happening. If the battery is badly discharged, the NOCO will try to recover it. If the battery is healthy and full, it drops into maintain mode and just sits there holding the charge. I do not stand around watching it. I close the hood and walk away.
If the battery is very low, the Genius1 may not start charging on its own, which is a safety feature, not a fault. Below a certain voltage a smart charger cannot be sure what it is connected to. The Genius1 has a Force Mode for that situation, which lets it charge a deeply drained battery once you confirm the connection is right. I only use it after checking the battery with a meter and making sure the case is not swollen or cracked. A battery that will not take a charge after a day on the maintainer is usually telling you it is done.
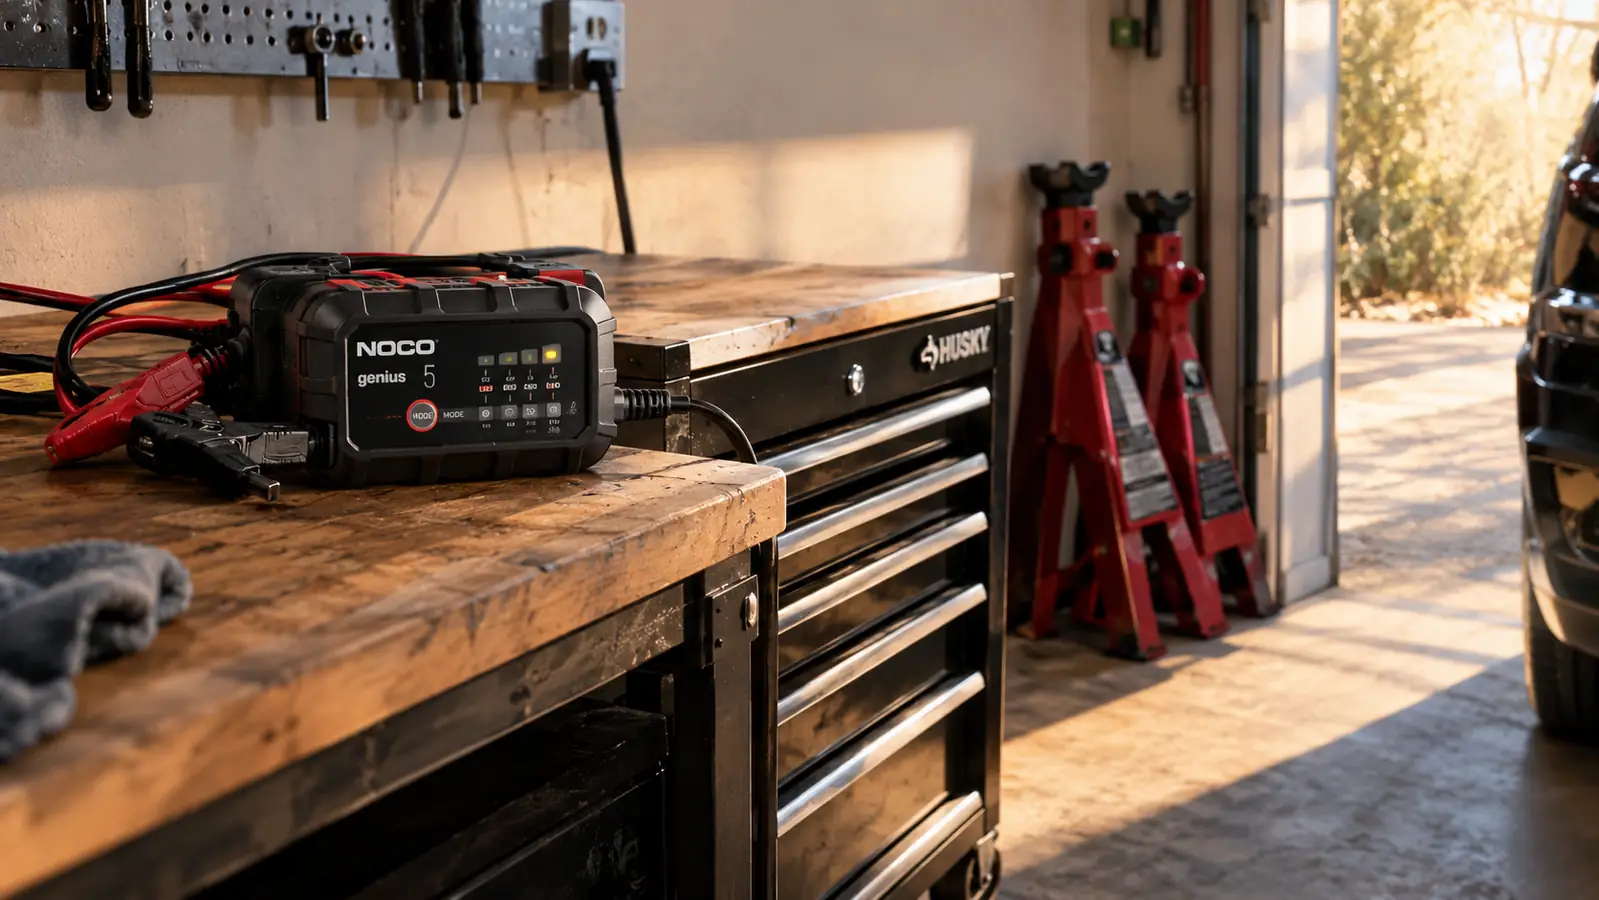
Step 4: Let it do its job and check the lights once a week
The whole point of a maintainer is that you do not have to think about it. The NOCO Genius1 monitors the battery voltage and only charges when the battery needs it. That is what makes it different from an old trickle charger that pushes current all the time and cooks a battery if you forget it. I leave mine connected for weeks at a time. The NOCO handles the rest.
I still glance at the lights once a week when I am in the garage for something else. A solid green light means the battery is full and the maintainer is holding it there. If I see a red light or a flashing pattern I do not recognize, I check the owner's manual. In eight months, I have not had to do anything beyond re-seating a clamp once.
I also check resting voltage with a cheap multimeter once a month. A healthy, fully charged 12-volt battery should read about 12.6 to 12.7 volts after it has been off the charger for an hour or so. If I see 12.4 or lower after a stretch on the maintainer, that tells me the battery itself is losing capacity, and it is time to start shopping before winter does the shopping for me. The maintainer keeps a good battery good. It cannot make a worn out battery new again.
Step 5: Disconnect in the reverse order when you are ready to drive
When the truck is ready to go back to work, I unplug the NOCO from the wall first. Then I remove the black clamp from the negative terminal, and finally the red clamp from the positive terminal. That reverse order is the same safety habit as the install, just backwards. It keeps the wrench from becoming the ground path if you slip.
The battery is full when you disconnect, so the truck starts like it was driven yesterday. I have let my truck sit for three weeks in the winter with the NOCO connected, and it fired up on the first crank. Before I started using a maintainer, that same truck would be slow to turn over after ten days, and I was buying a new battery every couple of years. The NOCO Genius1 pays for itself the first time it saves you a jump start or a trip to the parts store.
What Else Helps
A maintainer does the heavy lifting, but a few other habits make the battery last even longer. I keep the terminals coated with a thin layer of corrosion inhibitor, and I make sure the battery is tied down so it is not bouncing around on the tray. If the truck is going to sit for months instead of weeks, I top the battery off with a full charge before I connect the NOCO, so the maintainer starts from a good place instead of trying to recover a deeply discharged battery.
Temperature is a big one. Cold weather cuts the power a battery can deliver, and heat speeds up the chemical wear inside it. The Genius1 adjusts its charge for temperature, which helps, but where the vehicle sits matters too. A garage that stays out of direct sun in summer and above freezing in winter is about as good as it gets. If the vehicle has to sit outside, a maintainer is even more important, because every cold night pulls a little more out of a battery that is already sitting idle.
I also use the NOCO Genius1 on my neighbor's sedan when he heads north for the winter. Same routine, same result. The battery is full when he gets back, and he does not have to think about it. If you have more than one vehicle, a single NOCO can move between them. It is small enough to toss in a drawer when you are not using it.
One more habit worth keeping: start the vehicle and drive it every few weeks if you can, even with the maintainer on. The battery is only one part of a car that sits. Fluids settle, tires can flat spot, and rubber seals dry out. Twenty minutes on the road keeps all of that in better shape, and it gives you a chance to notice anything odd before you need the vehicle for a real trip.
Before I started using a maintainer, that same truck would be slow to turn over after ten days, and I was buying a new battery every couple of years. The NOCO Genius1 pays for itself the first time it saves you a jump start.
Keep the truck ready, even after three weeks of sitting
The NOCO Genius1 is the maintainer I trust in my own garage. Connect it, plug it in, and let it handle the rest.
Amazon Check Today's Price on Amazon →